Install CentOS 8 using VMWare Fusion for Mac
- Post AuthorBy wsiang
- Post DateMon Feb 15 2021
- Post TagsCentOS, Linux, Virtual Machine, VMWare

VMware Fusion is a software from VMware that you can use to create a virtual machine in a mac. You can install the free version of VMware Fusion using a personal license. More features are available in the VMware Fusion Pro. This post will describes how to install CentOS 8 on a mac using VMware Fusion.
Prerequisites
- VMware Fusion : Download and install the VMware Fusion Player
- CentOS 8 ISO : Download the CentOS 8 ISO
Create New Virtual Machine
- Open VMware Fusion (Virtual Machine Library)
- Click on the + icon button, then click New in the dropdown list

- Click on Create a custom virtual machine, then click Continue

- Select Linux > CentOS 8 64-bit, then click Continue

- Select Legacy BIOS, then click Continue

- Select Create a New Virtual Disk, then click Continue

- Click Customize Settings

- Set the virtual machine name in the Save As field and you can select a custom location for the virtual machine files, then click Save

- After that the Settings window will appear, click on the Network Adapter

- Select Autodetect inside Bridged Networking section. This will let the virtual machine to get an IP address from your router / DHCP server.

The virtual machine has been created but no Operating System (OS) has been installed. So the next step is to install the CentOS 8.
Install CentOS 8
- On the Settings window click on CD/DVD (IDE)
- Select Choose a disc or disc image… from the select option

- Browse and select the CentOS 8 ISO file, and click Open

- Don’t forget to check the Connect CD/DVD Drive

- Start Up the virtual machine

- Select Install CentOS Linux 8 or Test this media & install CentOS Linux 8, then wait for the installer GUI to start

- Select your language, then click Continue

- The Installation Summary window will appear

- In the Installation Summary window click on Installation Destination and select the drive which the CentOS 8 will be installed (In this case we only have 1 drive), then click Done

- In the Installation Summary window click on the Network & Host Name and click on the switch to connect the CentOS to the network, then click Done

- In the Installation Summary window click on the Root Password and enter a new password for the root account, then click Done

- In the Installation Summary window click on the Software Selection. There are a lot of options here, so to make it simple if you like to install the CentOS 8 with GUI then choose Server with GUI or Workstation. And if you don’t need the GUI, then you can choose the other options (I recommend to choose the Server environment). Optionally you can add additional software for the selected environment. Click Done to finish the Software Selection.

- In the Installation Summary window click on the Time & Date and select your time zone, then click Done

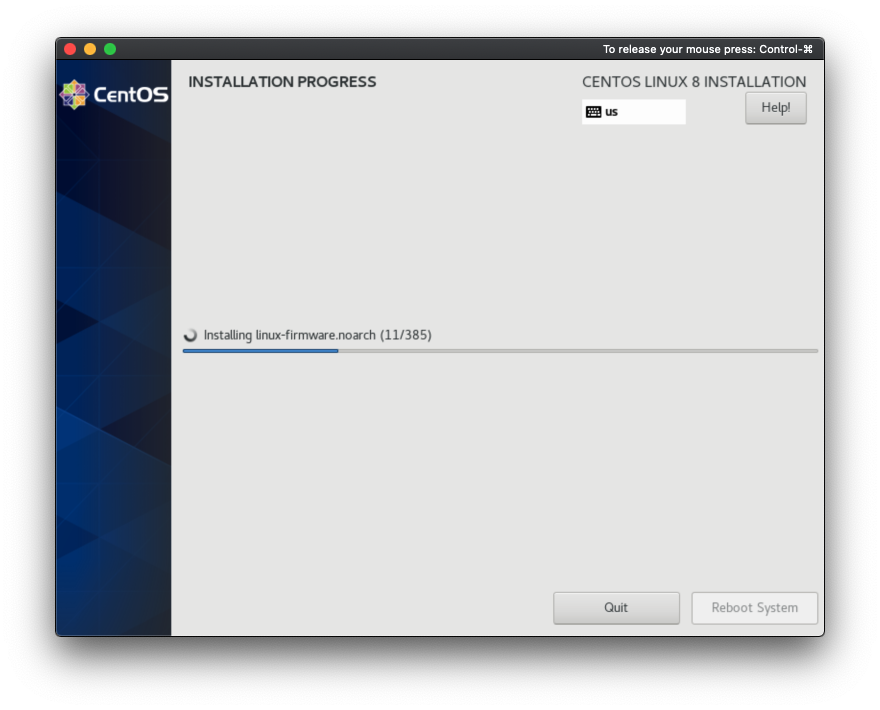
- In the Installation Summary window click the Begin Installation to start the installation and wait for the installation progress to complete
- Click Reboot System when the installation is complete

That’s it, now you can login to the CentOS 8 using the root account (If you choose the Server with GUI or Workstation you’ll need to complete the initial setup before login for the first time, just follow the initial setup wizard to complete the installation)

Hi, my name is Wie Siang
This blog was created to share my experience as a software engineer.
"Our greatest weakness lies in giving up. The most certain way to succeed is always to try just one more time."
-Thomas Alva Edison-